How to build and install a branded Microsoft Teams bot
Runbear is a no/low-code solution for connecting communication channels with LLM (Large Language Model) applications. For example, it enables the creation of a bot for MS Teams from an LLM app in just a few clicks.
How does it works?
The branded bot works just like default MS Teams integration, but you can customize the bot name, icon, and description and install it wherever you want.
Integration Walkthrough
Build Branded Bot
-
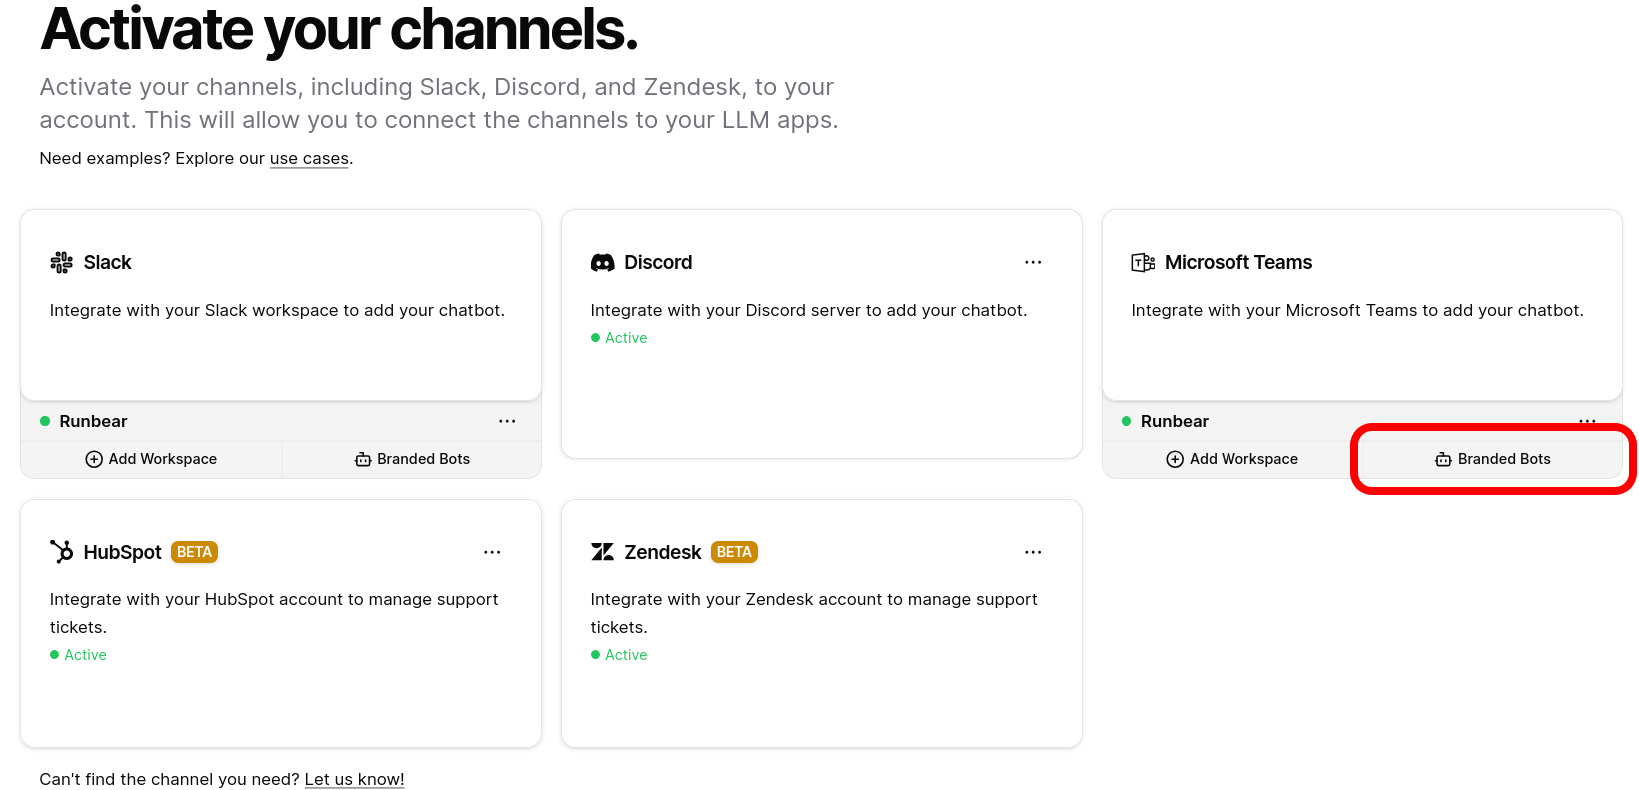
Navigate to channels. Click the
Branded Botsbutton of the Microsoft Teams tile.
-
On the bot management page, click the
Build Botbutton at the top. -
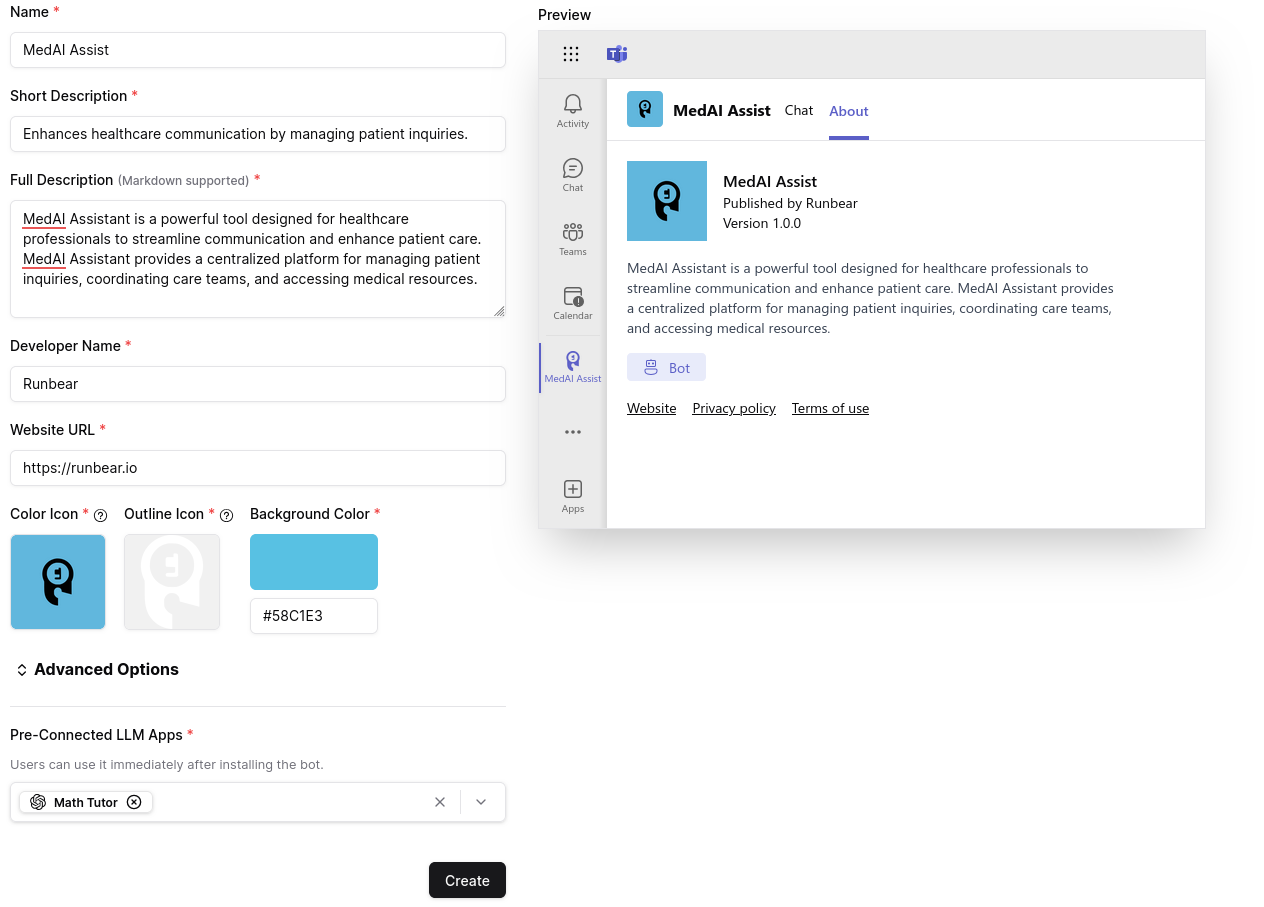
On the bot creation page, enter the fields shown in the image below. In the
Pre-Connected LLM Appssection at the bottom, select an LLM app so it can be invoked after the bot is installed in MS Teams. You can also see the entered bot customizations in real-time in the preview on the right.
-
Click the
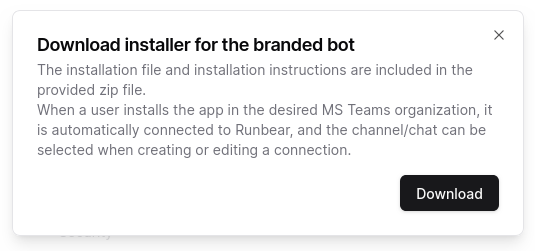
Createbutton, which takes a few seconds, and a dialog like the one below will appear. Click theDownloadbutton to download the installation file for the bot you created.
Install the bot
After creating the bot, download the installation file (zip) and unzip it once. Inside, you'll find the actual bot installation file along with a detailed installation guide. Follow the guide to install the bot.
Delete the bot
If you want to delete the bot, you can do so by clicking the Delete button on the bot management page.
Once deleted, it cannot be restored, and it will be deleted from all MS Teams organizations where the bot is installed,
and all Runbear connections connected to the bot will also be deleted.